 Pin it
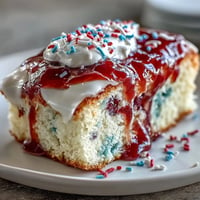
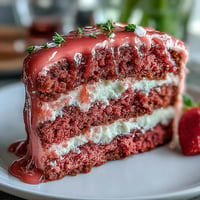
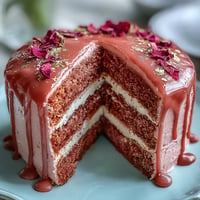
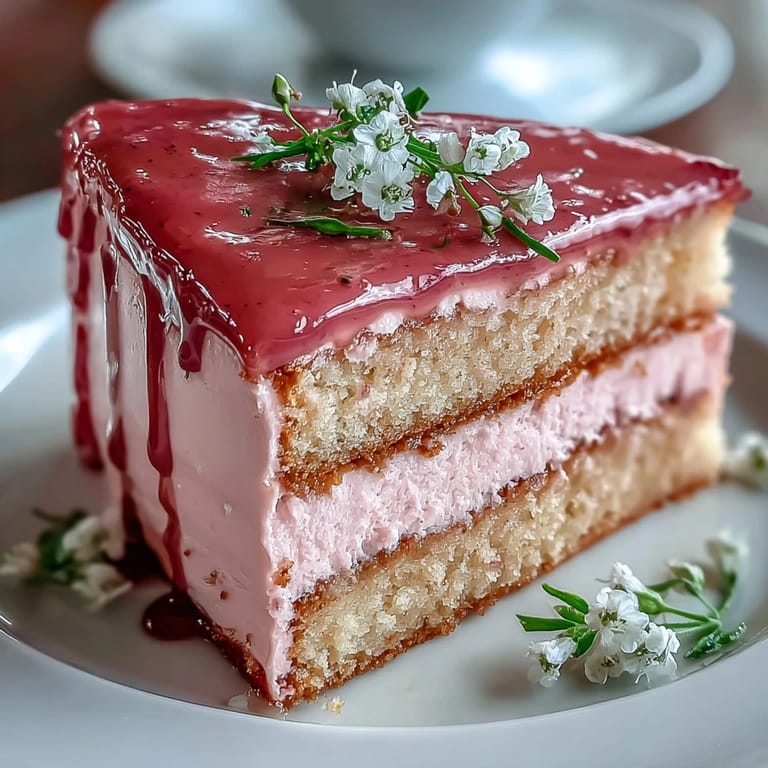
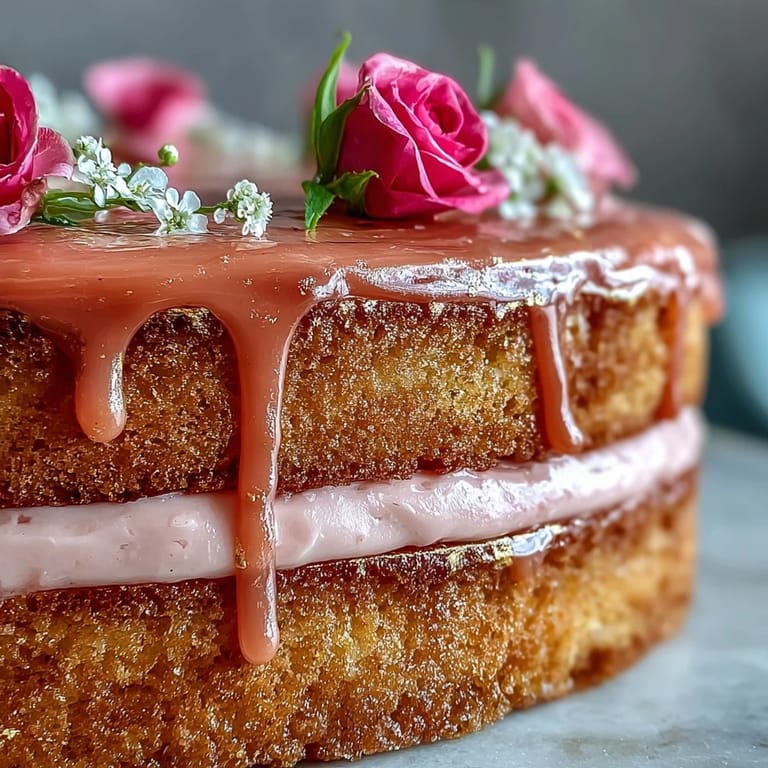
 Creating this Bridal Shower Rosé Velvet Cake was a delightful challenge, perfectly matched with laughter and the delightful chaos of party preparations. The aroma of baking cake and the hiss of the mixer whisking buttercream filled the air, as friends gathered around, sharing stories and excitement about the upcoming celebration. It was a sunny afternoon, and the sound of music wafted through the window, reminding me that good food is often about more than just the recipe. Little spills here and there only added to the joy, making each moment more cherished. This cake, with its elegant pink hue and shimmering gold drip, truly represents love and joy in every bite.
Bringing this cake to a bridal shower felt like presenting a piece of art. When I took the first slice, everyone’s faces lit up as they tasted the smooth buttercream paired with the moist velvet cake. The room buzzed with compliments and laughter, and I felt a warm sense of pride knowing I contributed to their special day. Amidst all the celebrations, it was a sweet reminder of how food has a way of bringing people together and creating lasting memories. By the end of the evening, not only was the cake devoured, but the day turned into an unforgettable gathering of love and joy.
Ingredients
- All-purpose flour: This forms the cake's structure, so use a good quality flour for best results.
- Granulated sugar: Sweetness is key, plus it helps create a light texture in the cake.
- Baking soda: This gives the cake its fluffy rise—don't skip this step!
- Unsweetened cocoa powder: Just a touch to enhance flavor without overwhelming the pink velvet essence.
- Vegetable oil: Ensures the cake remains moist and tender.
- Rosé wine: Infuses the cake with a lovely floral note, elevating its flavor profile.
- Butter: Essential for a creamy, indulgent buttercream that smooths beautifully over the cake.
- Edible gold luster dust: For that glamorous touch that makes the cake shine like a star.
Tired of Takeout? 🥡
Get 10 meals you can make faster than delivery arrives. Seriously.
One email. No spam. Unsubscribe anytime.
Instructions
- Preheat the Oven:
- Start by preheating your oven to 350°F (175°C) and greasing the cake pans. It’s essential to line them with parchment to ensure the cakes come out cleanly.
- Mix the Dry Ingredients:
- Sift together the flour, sugar, baking soda, salt, and cocoa powder in a large bowl. The aroma of the fresh dry ingredients is a promise of the treat to come.
- Prepare the Wet Mixture:
- In another bowl, whisk together the oil, eggs, buttermilk, rosé, vanilla, and vinegar until well combined. Feel free to let a friend whisk while you enjoy the aromas!
- Combine and Color:
- Gently fold your wet mixture into the dry ingredients until just combined. Add food coloring to achieve your desired rosy hue, creating a beautiful batter.
- Bake the Cakes:
- Divide the batter into the prepared pans and bake for 30-35 minutes. The enticing scent wafting through the kitchen is the best part!
- Cool Down:
- Let the cakes cool in their pans for about 10 minutes, then carefully transfer them to a wire rack to cool completely. Each layer should be as cool as your anticipation!
- Make the Buttercream:
- Beat the room temperature butter on high until creamy, then gradually mix in the powdered sugar. The fun part is creating that perfect fluffy texture!
- Assemble the Layers:
- Level the cakes if necessary, place one on a board, and spread on the buttercream. Repeat with the other layers, then crumb coat the outside and chill.
- Create the Gold Drip:
- Melt the chocolate chips and cream until smooth. Carefully pour the mix over the edges of the cake for the elegant drips.
- Decorate with Gold:
- After the drip sets, you can add your edible gold dust for that final touch. Each brushstroke makes the cake feel even more special.
 Pin it
 What I cherish most about this cake is the joy it brings when serving it to loved ones. It transforms an ordinary gathering into an extraordinary celebration. The delighted faces as they see the majestic gold drips and the soft pink color are moments I love to capture in my heart forever.
Making It Your Own
You can play with the flavor of the cake by using different wines or even adding some pureed fruits for a lovely twist. Guests will always appreciate a unique touch that reflects your personal style.
Understanding Cake Assembly
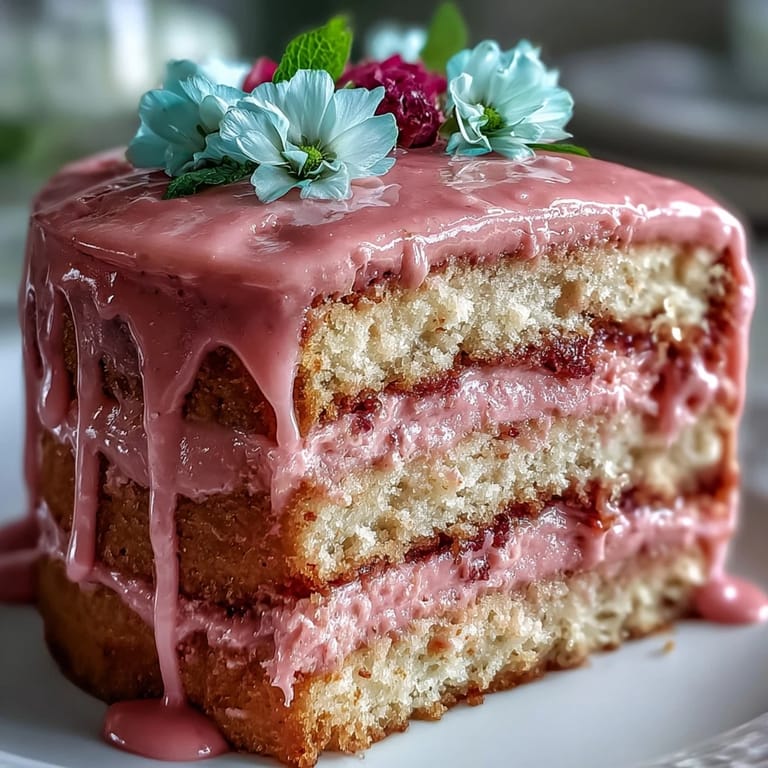
The way you assemble the layers really impacts the overall presentation. Ensure each layer is even and well-iced to create a professional finish and heighten the wow factor.
Decoration Ideas That Shine
Add fresh flowers or berries for a pop of color that brightens up the cake. Creations are endless!
- Try different edible glitters to enhance the festive vibe.
- Consider using flavored extracts to elevate the taste.
- Don’t forget to create space for candles if it’s a special occasion.
 Pin it
 This Bridal Shower Rosé Velvet Cake is not just a recipe; it’s a way to create lasting memories and a joyful experience with those you cherish. Enjoy making and sharing it!
Recipe Q&A
- → What is the best way to store the cake?
The cake can be stored in the refrigerator. Make sure it's covered properly to maintain moisture. Let it come to room temperature before serving for the best taste.
- → Can I substitute ingredients in the cake?
Yes, you can use alternatives like almond milk for buttermilk or a gluten-free flour blend if you prefer a gluten-free option.
- → How far in advance can I bake the cake?
You can bake the cake a day ahead. Just ensure it cools completely and is stored properly in the refrigerator.
- → What other occasions is this cake suitable for?
This pink velvet cake is perfect for birthdays, anniversaries, or any celebratory events that call for a special dessert.
- → How can I make the cake more colorful?
You can add more food coloring to the batter to achieve your desired shade of pink or decorate the cake with fresh fruits and edible flowers.